How to Verify Your New HVAC System Was Installed Correctly
A new HVAC system is a major investment — one homeowners expect to deliver improved comfort, lower energy bills, quieter operation, and long-term reliability. Unfortunately, many homes never experience those benefits, not because the equipment is flawed — but because installation shortcuts were taken.
Across Pinellas County, a large percentage of high-efficiency systems fail to deliver their promised performance due to improper installation practices.
At Williams Air Solutions, we frequently inspect systems installed by other providers and discover issues that directly impact efficiency, comfort, and component lifespan.
Here’s how homeowners can confidently verify whether their new HVAC system was installed properly — and what to do if something feels off.
1. Request a Manual J Load Calculation
The foundation of proper HVAC installation is accurate equipment sizing.
Ask your installer:
✅ Was a Manual J load calculation performed?
✅ Can you see the final calculation report?
If your sizing was determined solely by square footage or by replacing your old system with the same tonnage — chances are your system was not sized correctly.
Why it matters:
Oversized or undersized systems cause inefficiency, uneven cooling, humidity issues, and premature equipment failure.
2. Confirm Airflow Testing Was Done
High-efficiency systems require precise airflow velocities to achieve their rated performance.
Your installer should have:
✅ Measured static air pressure
✅ Balanced airflow at supply vents
✅ Adjusted fan speeds to manufacturer specs
Without airflow testing:
- Systems run harder than necessary
- Temperature differences increase between rooms
- Energy use climbs
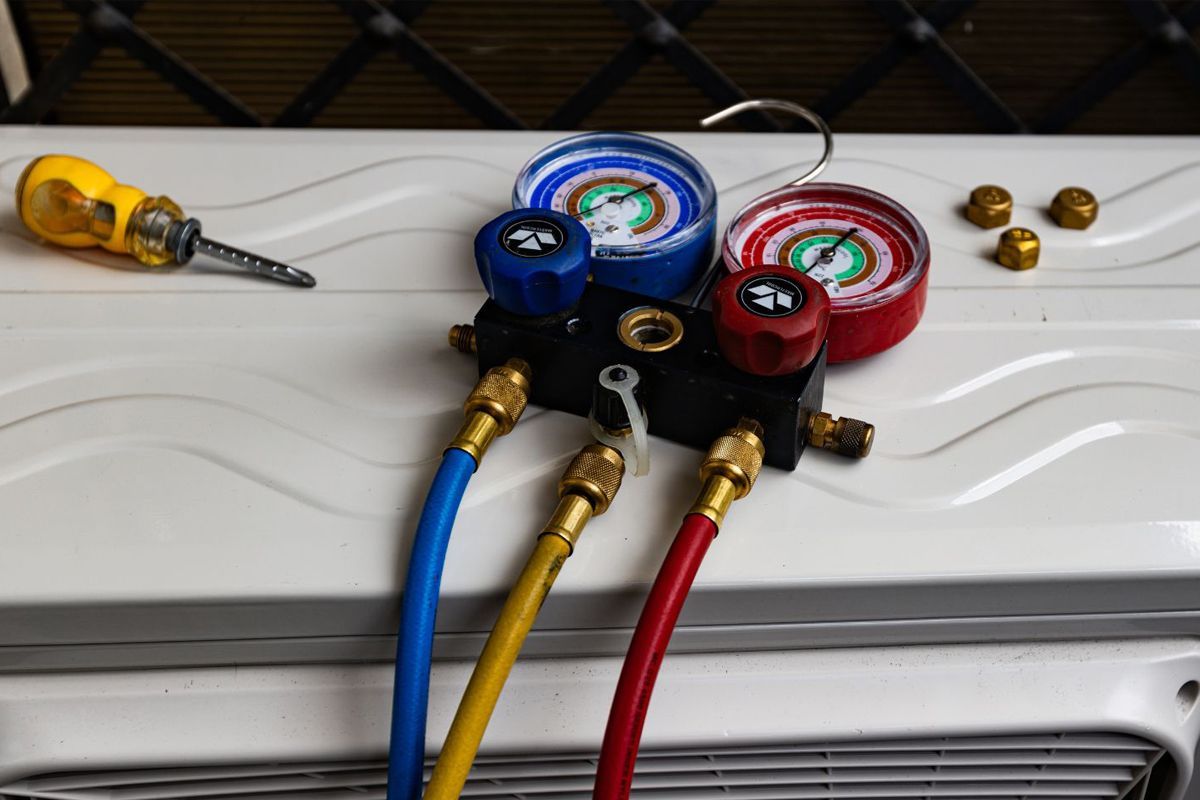
3. Ask About Refrigerant Charging Verification
Even brand-new systems must be calibrated — factory refrigerant charges are only starting points.
Proper commissioning includes:
✅ Temperature split testing
✅ Operating pressure measurement
✅ Detailed subcooling/superheat verification
Incorrect refrigerant levels eliminate high efficiency benefits and strain compressors.
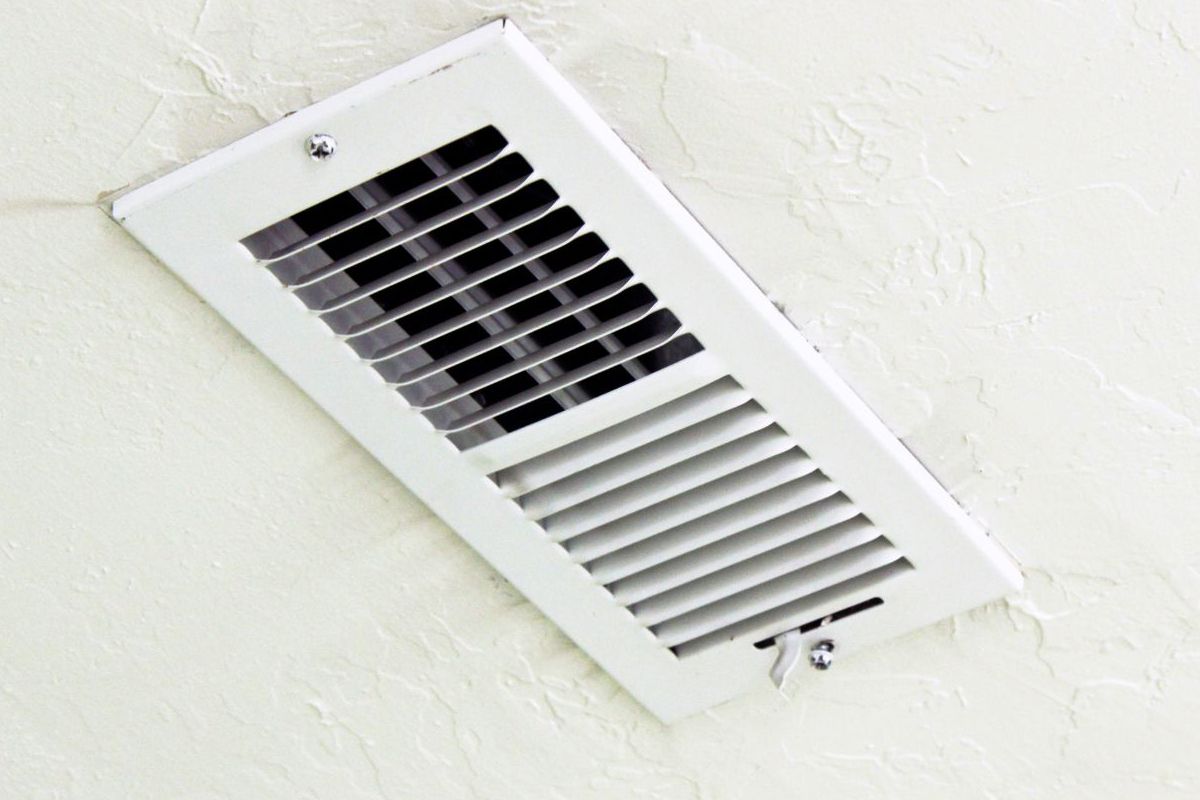
4. Inspect Your Ductwork Condition
While ducts might not be new, they must support your new equipment correctly.
Check for:
- Insulation integrity
- Tight, sealed connections
- No visible air leaks at joints
- No crushed or sagging runs
Up to 30% of cooling energy can be lost through poor duct systems — even with brand-new equipment installed.
5. Verify Thermostat Setup and Programming
Your thermostat isn’t just a temperature display — it controls major operating behavior.
Make sure:
✅ Fan settings and blower speeds were professionally set
✅ Schedules were programmed correctly
✅ Zoning controls work seamlessly (if applicable)
✅ Smart thermostat communication was tested
Incorrect thermostat setup alone can cause inefficient runtimes — even with perfect system installation.
6. Listen for Short Cycling
Short cycling — frequent on/off behavior — is a red flag.
Signs include:
- Quick blast of air followed by shutdown
- Multiple starts per hour
- Uneven cooling
This usually signals incorrect sizing, airflow imbalance, or thermostat miscalibration.
7. Check Indoor Humidity Levels
Florida comfort depends heavily on humidity removal.
Ideal levels:
✅ 30%–50% indoor humidity
If your home feels clammy or stays over 55% RH — even with the AC running — your system is likely:
⚠ Oversized
⚠ Improperly charged
⚠ Poorly balanced
⚠ Misconfigured for humidity removal
8. Review Your Startup Documentation
Professional installations should include paperwork:
✅ Load calculation summary
✅ Refrigerant charge readings
✅ Airflow testing results
✅ Commissioning checklist
If you were never provided with this documentation — the installation was likely rushed or incomplete.
Clearwater Home Inspection Saves Thousands
A Clearwater homeowner requested a second opinion after a new system installation failed to improve either humidity or energy costs.
Inspection revealed:
- No Manual J sizing conducted
- Airflow levels far below specifications
- Incorrect refrigerant charge
After proper recalibration:
✅ Comfort levels stabilized
✅ Humidity dropped into the ideal range
✅ Energy usage fell by 17%
Without verification testing, the homeowner would have lived with years of elevated costs.
Schedule a Professional HVAC Installation Verification
If you’ve had a system installed recently and you're questioning the results, or you simply want confirmation your investment was done right, an expert review can protect your comfort and finances.
At Williams Air Solutions, our HVAC performance verification inspections evaluate:
- Equipment sizing accuracy
- Airflow and duct integrity
- Refrigerant calibration
- Humidity control
- Control programming
Call Williams Air Solutions at (727) 353-0090 today to schedule your installation verification and make sure your new system performs as designed.